- App_Data
- Content
- Media
- Plugin
How to Build the Source Code
If you've downloaded the source code version of SmartStore.NET you need to build the solution before you can upload it onto your server. For more information about this topic please read How to build SmartStore.NET.
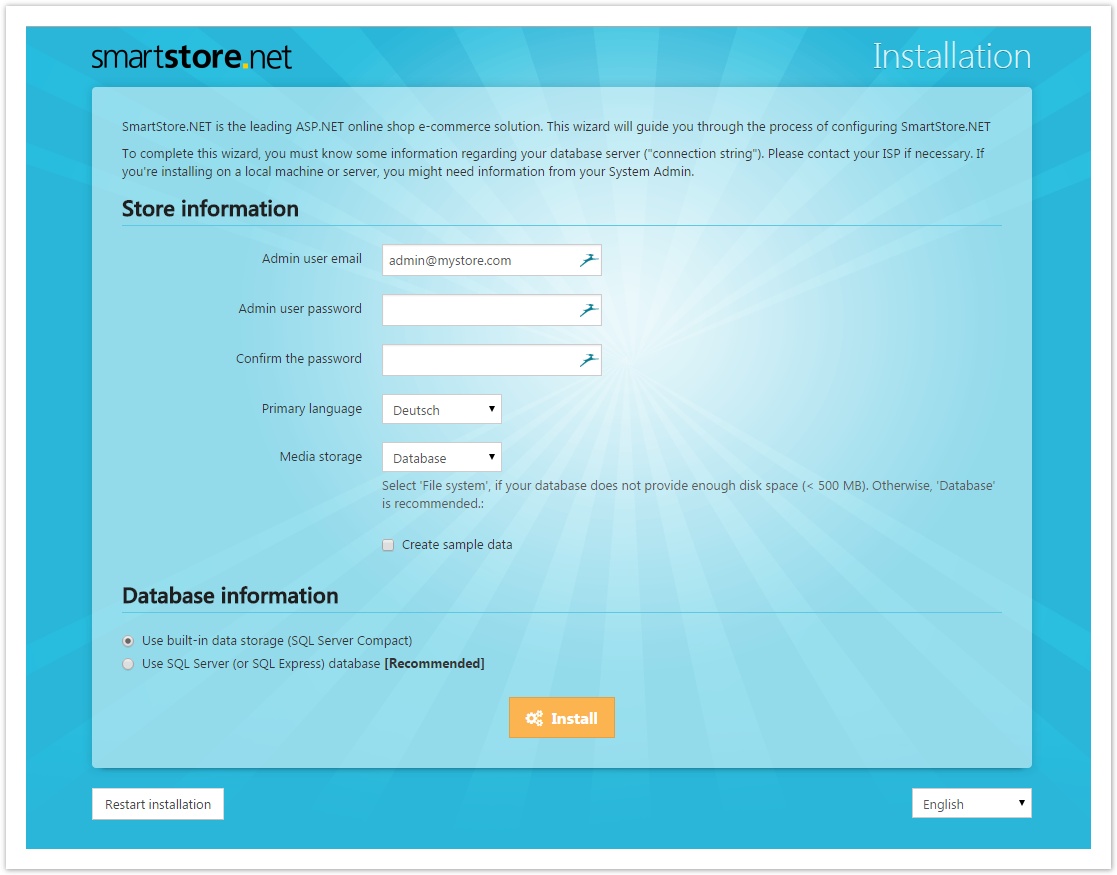
Open your favorite browser and navigate to the site. The SmartStore.NET installation page will be displayed.
In the Store Information section, provide all the necessary store admin user information as per the description in the table given below.
Fields | Description | Example Value |
|---|---|---|
Admin User Email | Refers to the e-mail address of the admin user for the store. | |
Admin User Password | Refers to the password of the admin user. | ********** |
Confirm the Password | Refers to the password re-entered for confirmation. | ********** |
Primary Language | Refers to the primary language of the store. | English |
Media Storage | Refers to the storage type for your media files. The available options are Database and File System. Select File System if your database does not provide enough disk space (<500 MB). Otherwise, Database is recommended. You can change this setting once your shop is installed in the administration area. | Database |
Create Sample Data | Specify whether you wish to create sample data or not. It is better to create sample data so that you can easily model your store data based on this. Therefore, it's recommended that you keep this option checked. | Checked |
Once you’ve entered the information in the Store Information section, scroll down to the Database Information section.
In order to complete the installation, you must provide the information related to your database server or database connection string. Please contact your ISP if necessary. In case you’re installing on a local machine or server, then you might need information from your System Admin.
Database Information
In the Database Information section, provide all the necessary database details as per the description in the table given below.
Fields | Description | Example Value |
|---|---|---|
Option to choose the SQL Server | Specify which type of data storage or database you wish to choose. The available options are
The most recommended option is using SQL Server (or SQL Express). |
|
Option to choose the method for providing connection details | Specify which method you wish to use in order to provide the database connection details. The available options are
In the example, SQL connection values are manually entered. |
|
SQL Server Name | Refers to the name of the SQL server. | 77.236.99.185 |
Database Name | Refers to the name of the database. | Documentation |
Option to choose to log on to the database server
| Specify which option you wish to use in order to log into the server. The available options are
In the example, the SQL Server account is used to log into the server. | Checked |
SQL User Name | Refers to the user name to log into the SQL Server database. | documentation |
SQL Password | Refers to the password to log into the SQL Server password. | ********** |
Option to create database or use existing | Specify which option you wish to use for the database. The available options are
In the example, an existing SQL Server database is used. |
|
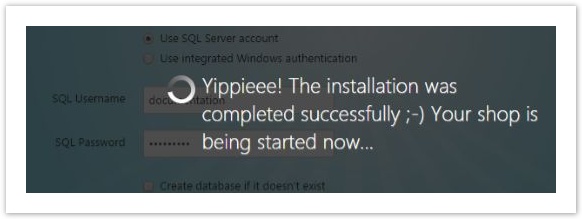
Once you provide the complete database information, click Install. A message box asking you to confirm the start of the installation of SmartStore.NET will be displayed. If you click on confirm, SmartStore.NET will start installing your store. Once the database is built and all plugins are installed, the installation will be completed successfully and a success message will be displayed.
Your SmartStore.NET shop is now ready to be customized.

